MiG-15
by Chaz Nims
|
|
|
MG-15 |

Tamiya's
1/48 scale MiG-15 Clear Edition is available online from
Squadron.com
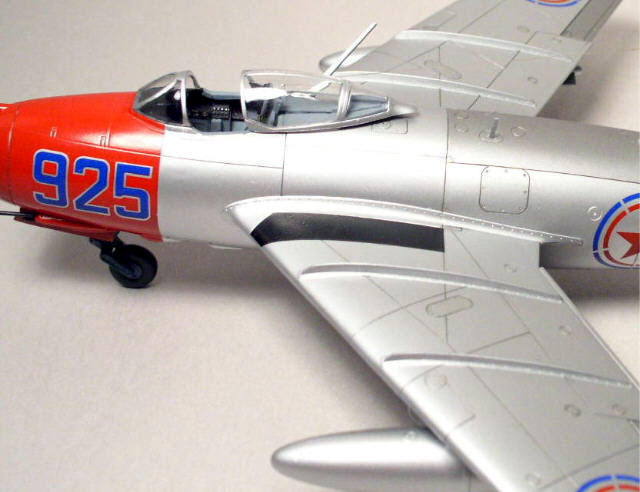
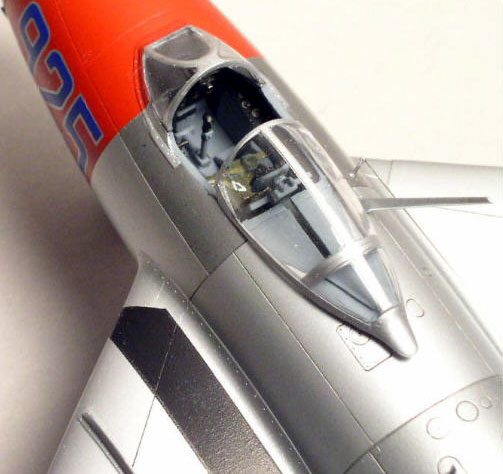
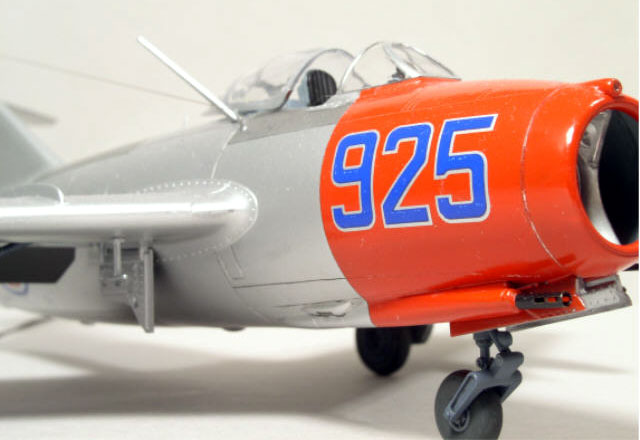
This is the Tamiya 1/48 Mig 15. I had planned to use the
old True Details resin cockpit interior, but when I took a close look at
it, the details just did not seem of high enough quality to make it
worthwhile. I still planned to use the ejection seat, but due to the way
it was attached to the pouring stub, it disintegrated when I tried to
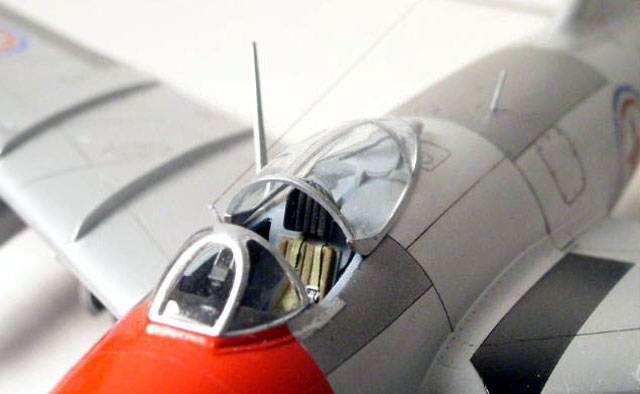
prepare it for use. I did add a few P/E details from Eduard, including a
nice perforated gun barrel for the 37 mm nose cannon. I also replaced
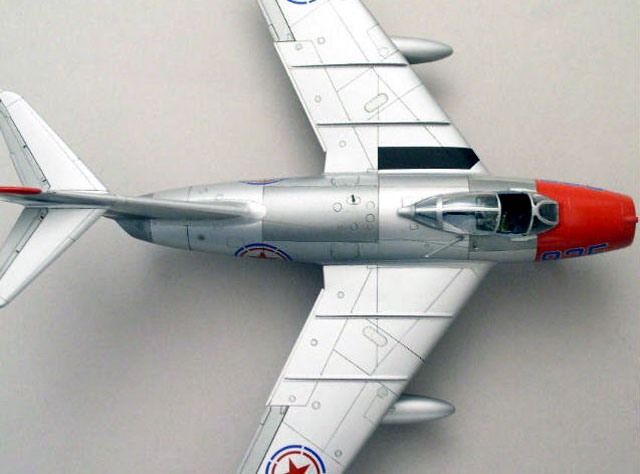
the pitot tube with brass and stainless tubing. The decals are from
Aeromaster, but to tell the truth, I have forgotten the nationality of
the markings they represent. Russian, I think, but they may be North
Korean. Someone out there knows, I am sure.
The kit includes a well detailed engine and can be modeled with the rear
half removed to display the engine. I wanted to show the plane in normal
configuration, though, so I omitted the engine. Surface detail is
fantastic; fit is good, although there were some problem areas for me.
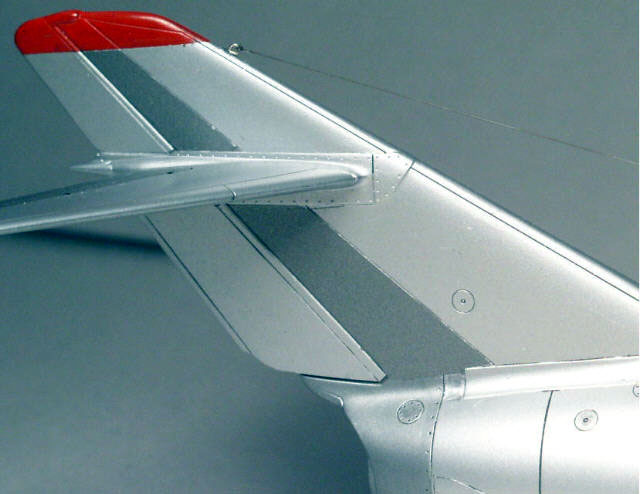
The metal finish is SNJ without the powder polishing. Red areas are
plain old Testors gloss red from the small bottle. I used an acrylic
wash in the panel lines. Darker metal areas are Testors Metalizer.
This is my first attempt at photographing a model. I decided to attempt
it last Christmas and bought myself a digital camera. The camera is an
Olympus C-4000. For those contemplating taking this plunge, plan to
spend a good couple of weeks on the internet reading up on various
cameras as well as how to use them to take close-ups sufficient to do
justice to your modeling creations. You'll probably still end up posting
some questions to forums like this one for advice.
The photos were taken at a relatively low resolution, around 1100x700 as
I recall. I did this to help keep the file size down. I later learned
that this was not necessary as you need to resize the pictures anyway
with a photo editor and this will reduce your file size and scale the
picture to a pixel width suitable for computer screen viewing, 640
pixels wide for Hyperscale.
The pictures were taken indoors with no flash and PLENTY of light. F
stop was manually set to 4.5. Macro (close-up) mode was used.
This model sits next to a completed Hasegawa F-86F. It's surprising how
small this plane was compared to the F-86.
Click on the thumbnails to
enlarge.
Use your browser's "Back" arrow key to return to this page:
Model, Text and Images Copyright ©
2003 by Chaz Nims
Page Created 27 February, 2003
Last Updated
25 March, 2004
Back to
HyperScale Main Page |
 Home |
What's New |
Features |
Gallery |
Reviews |
Reference |
Forum |
Search
Home |
What's New |
Features |
Gallery |
Reviews |
Reference |
Forum |
Search